
Which primer colour to use under a RAL topcoat
Primer shade decides how many topcoats you need and whether a yellow or red ever looks right. How to pick white, light, mid or dark grey under a RAL colour.
 By Dieter Kaufmann8 minute read
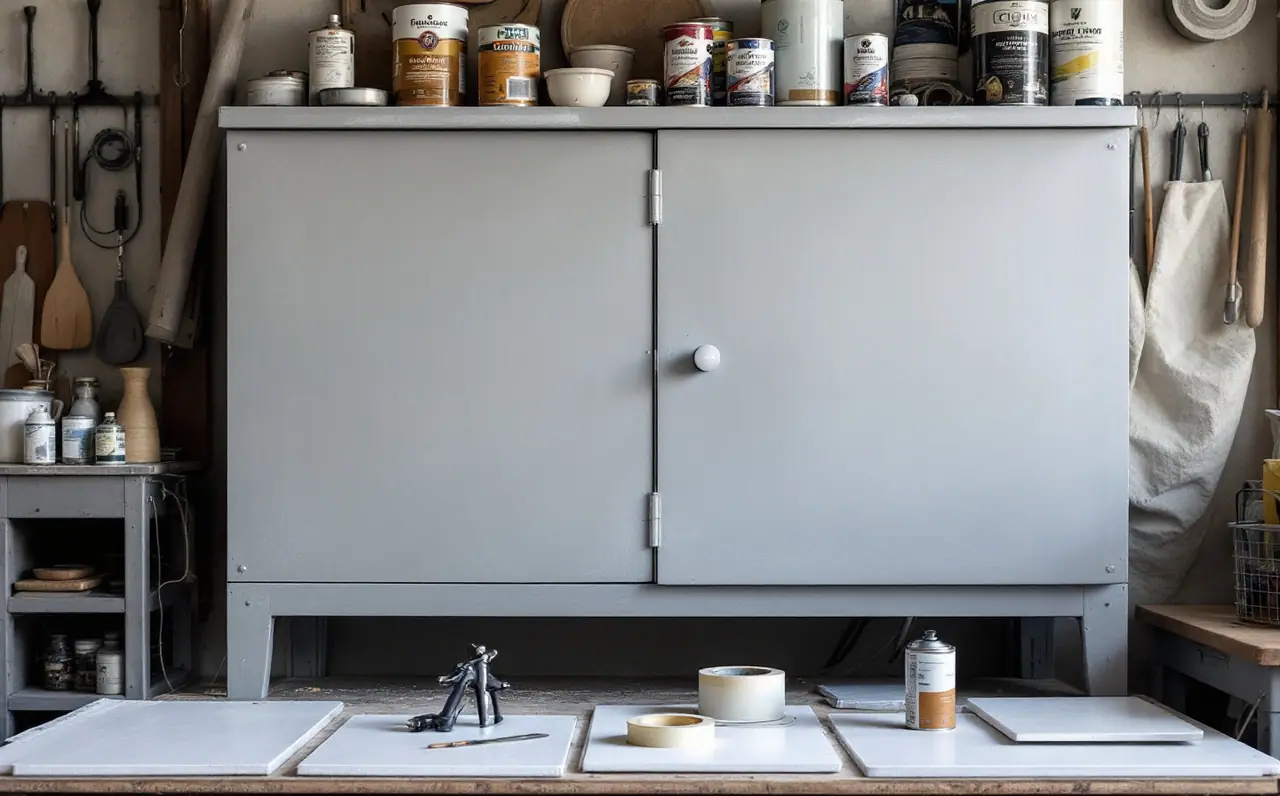
Most people choose a primer for what it sticks to and forget that it also has a colour. That colour sits directly under your topcoat, and with some RAL shades it shows through more than you would believe. Pick the right primer shade and a bright yellow covers in a few coats and looks clean. Pick the wrong one and you can spray coat after coat while the colour stays dull, patchy or slightly green. This is the order in which I make the decision, from the topcoat backwards.
Step 1: find out how well your topcoat hides
Hiding power, sometimes called opacity, is how well a paint film covers what is underneath it. It depends on the pigments, and it varies a great deal across the RAL Classic range.
Dark greys, blacks, deep blues and many mid tones are made with pigments that hide well. Two coats over almost anything usually gives a solid, even colour. Bright yellows, oranges and clean reds are a different story. The pigments that give those strong, clean colours are often fairly transparent, especially in modern lead-free formulations. A bright yellow sprayed over a dark surface can stay translucent for coat after coat, and the dark base drags the colour down even after it looks covered.
Before choosing a primer, read the topcoat's data sheet or ask the supplier. Many paint makers will tell you, for a given colour, whether it hides poorly and which primer shade they recommend under it. Some refinish ranges sell primers in a set of grey shades and publish which shade suits each topcoat colour. If that information exists for your product, follow it.
Step 2: match the primer to the lightness of the topcoat
When there is no specific advice, the general rule is to put a primer under the topcoat that is close to its lightness, not its hue. Lightness is how light or dark the colour looks if you squint at it, or photograph it in black and white.
| Topcoat | Primer shade to start from |
|---|---|
| Whites, creams, bright yellows, oranges, clean reds | White or very light grey |
| Pastels and light greys | Light grey |
| Mid greys, mid greens, mid blues, browns | Mid grey |
| Very dark greys, black, deep blues and greens | Dark grey |
| Luminous colours | White |
A primer that matches the topcoat's lightness lets each coat add colour rather than fight the base. You use fewer coats, which saves paint and time and leaves a thinner, tougher film.
Tinted primers
Some suppliers will tint a primer towards the topcoat colour, for example a reddish primer under a red or a pale yellow-tinted primer under a yellow. This can help with very poor-hiding colours. If your supplier offers it, ask what tint they would use for your RAL number. A tinted primer is not a substitute for the right base lightness, so under a bright yellow it should still be pale.
Luminous colours need white
The luminous RAL colours, such as RAL 1026 luminous yellow and RAL 2005 luminous orange, use fluorescent pigments that work by turning some light into visible colour. They glow properly only over a clean white base, and most systems call for a white primer or a white basecoat under them, often with a clear coat on top. They also cannot be shown properly on a screen, which is covered in luminous RAL colours and why screens cannot show them.
Step 3: choose the primer type for the surface
The colour question comes second to adhesion. A primer in the perfect shade that does not stick is worse than no primer at all. This is general guidance only; the data sheet for your system is the authority.
- Bare steel: an anti-corrosion primer suited to steel. In refinish work, epoxy primers are common for bare steel, and some people use an etch primer first on small bare spots.
- Galvanised steel: a primer made for zinc. Many data sheets warn against putting ordinary alkyd paints straight onto galvanised surfaces, because adhesion can fail.
- Aluminium: a primer that is listed for aluminium, often an etch or adhesion primer, applied to a clean, freshly abraded surface.
- Wood: a wood primer, with knotting solution on resinous knots for light topcoats.
- Plastic: a plastic adhesion promoter or plastic primer suited to the plastic in question. Some plastics are very hard to paint, so try a hidden area first.
- Old sound paint: often no full primer is needed, only a scuff and spot priming of bare patches. The colour of the old paint then becomes the base, which matters a lot if you are changing colour.
Many primers come in only one or two colours. If the right adhesion primer comes only in a dark grey and your topcoat is a bright yellow, you can put a light grey or white surfacer or sealer over the adhesion primer, as long as the products are listed as compatible with each other.
Step 4: prepare and apply the primer properly
Primer only does its job if it goes on clean and is prepared properly for the topcoat.
- Degrease the surface before and after sanding. Sanding a greasy panel just spreads the grease into the scratches.
- Sand bare metal and old paint to the grit the primer's data sheet asks for. Too fine and the primer has nothing to grip; too coarse and the scratches show through later.
- Spray or brush the primer at the film thickness and number of coats the data sheet gives. Respect the flash-off time between coats, which is the time for solvents to leave before the next coat goes on. It is printed on the tin or data sheet and it varies with temperature.
- Let it dry or cure for the time stated before sanding.
- Sand the primer smooth with the grit the system specifies for a solid topcoat. Refinish data sheets often name something in the P320 to P600 range, but follow the one for your product.
- Clean off the dust with a tack cloth or the cleaner the system recommends, then apply the topcoat within the recoat window given on the sheet.
If you are spraying a two-pack (2K) primer or topcoat, it contains isocyanates and needs proper respiratory protection with a suitable air supply, not just a dust mask. That is not something to do in a home garage without the right kit. Even with single-pack products, a paint respirator rated for organic vapours is a sensible minimum when spraying. If you are sanding old paint on an older item, remember that the dust may contain lead.
Worked example: a red tool cabinet resprayed yellow or red
Here is a practical case. A steel roller tool cabinet has a tired red finish, chipped on the corners and down to bare metal in a few spots. The owner wants to respray it either in RAL 1023 traffic yellow or in RAL 3000 flame red.
Option A: RAL 1023 traffic yellow
Traffic yellow is a strong, warm yellow, and like most bright yellows it does not hide well. Sprayed straight over the old red, it would take several coats before the red stopped showing through, and the result would probably look slightly orange and dull even then.
The plan I would follow:
- Strip the drawers out, degrease, and sand the whole cabinet to key the old paint and feather the chips.
- Spot prime the bare steel with a suitable steel primer.
- Apply a white or very light grey primer surfacer over the whole cabinet, enough to hide the red completely.
- Sand the primer with the grit given on the data sheet.
- Spray traffic yellow over the light base.
Over a white or very light grey base, a yellow like this typically needs fewer coats and looks cleaner and brighter. Over the old red, it could easily take twice as many and never look quite right. The extra primer step saves paint and gives a better colour.
Option B: RAL 3000 flame red
Flame red is a deep, slightly dark red. Over an existing red finish, the colour change is small, and the old paint is already a good base. The plan is simpler:
- Degrease, sand the old paint to key it, and feather the chips.
- Spot prime the bare steel only.
- For those spot-primed patches, a mid grey or a red-tinted primer suits a red of this depth; a dark grey can make the patches look heavier, and pure white can make them show as brighter spots under the topcoat.
- Spray the flame red over the whole cabinet.
The reds are not all the same, though. A cleaner, brighter red such as RAL 3020 traffic red hides less well than a deeper red, and it benefits from a lighter base, much like the yellow. If you are going from a dark colour to a bright red, treat it like the yellow case and put down a light grey primer first.
What this example shows
The direction of the change decides the work. Going from dark to light, or from any colour to a bright yellow, orange or clean red, almost always means a full coat of light primer. Going from a similar colour, or from light to dark, usually means spot priming and getting on with the topcoat.
A last check: spray a test panel
Before committing a whole cabinet, door or frame, spray a test panel with exactly the primer and topcoat you plan to use. A bit of scrap steel sheet is ideal. Mask off half and prime it in your chosen shade, leave the other half in the old colour, then spray the topcoat across both halves and count the coats each needs. That single panel tells you more about hiding power than any chart, and the workshop section has more on setting up test panels and spray work at home.
Dieter Kaufmann
Dieter has spent a lot of weekends around gates, trailers and garden furniture that needed stripping and coating. He covers powder coating, metal preparation and primers, and he is fussy about degreasing.
More from the same drawer

Why RAL colour names change between languages and shops
RAL numbers stay fixed while the names get translated, shortened and reused by shops. Why the four digits are what to quote, plus a checklist for ordering.
Read the note
Spray painting metal railings in a RAL colour
A practical guide to repainting steel railings in a RAL colour: weather, rust removal, degreasing, masking, primer, spray or brush, coats and paint quantities.
Read the note
How to read and use a RAL fan deck
What the strips in a RAL Classic fan deck tell you, how to hold one against a wall or a part, and how to store it so the colours stay worth trusting.
Read the note