
Choosing a colour for a vintage bike frame restoration
Old bike frames wore their makers' own colours, not RAL. How to find the original shade, pick a RAL number a coater can use, and handle fluorescents and decals.
 By Saoirse Malone8 minute read
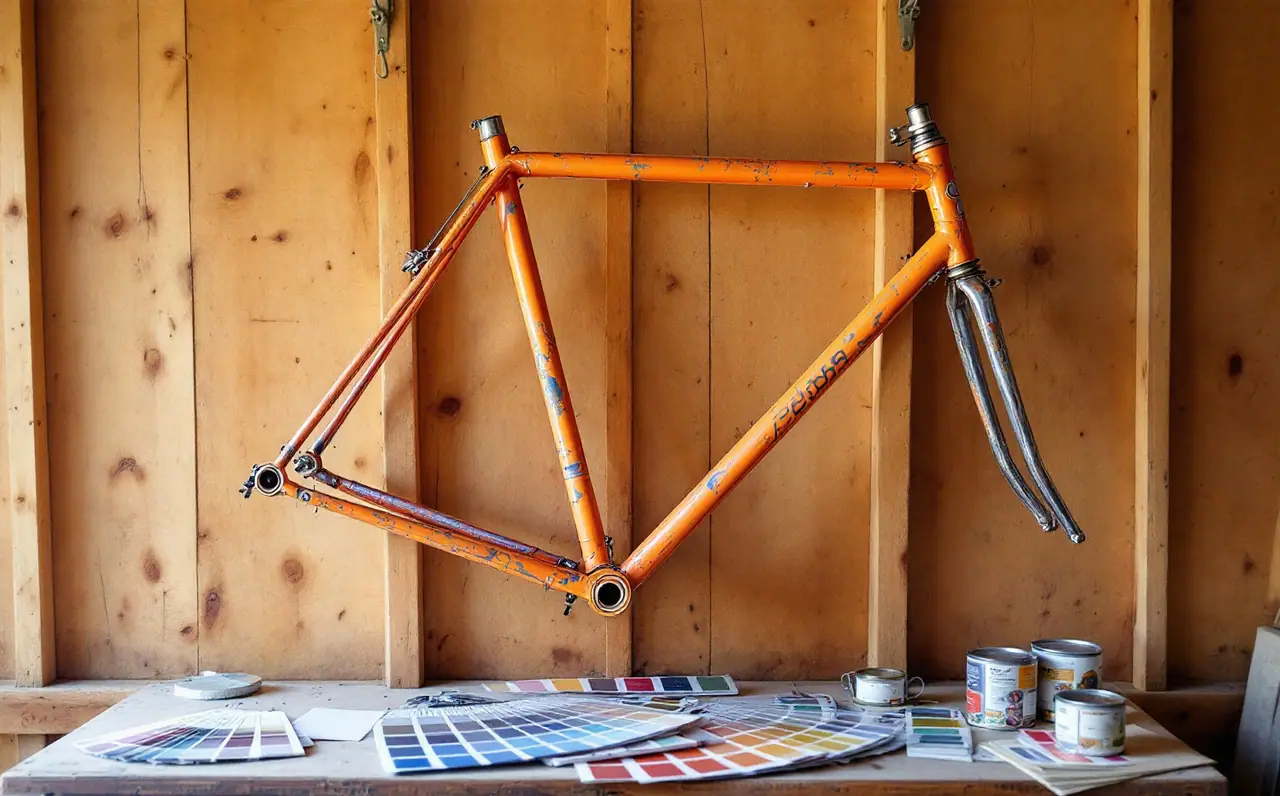
Most of the old frames that come through my shed arrive in a colour nobody can name. Faded orange, a blue that might once have been navy, a yellow gone the shade of weak tea. The owner wants it back to "how it was", and the coater wants a number. Somewhere between those two is a decision that is less about chemistry and more about patience.
This is how I go about it, frame by frame, with one worked case in the middle.
First, a reality check about RAL and old bikes
Bicycle makers in the decades when lugged steel frames were the norm generally mixed or bought their own colours. Big factories had house shades, small builders had favourite tins, and many colours changed from one year's catalogue to the next. Very few of them were specified as RAL colours at the time.
So when you restore a frame, a RAL Classic number is not the original colour. It is a practical shared language: a way to tell a powder coater or a paint shop "this shade, roughly", using a reference both of you can look up. That is useful, because RAL powders and RAL paint formulas are widely available. Just go in knowing that the nearest RAL shade may be close, near enough or not very close at all, and that a custom-mixed wet paint is the alternative when nothing in the range will do.
Step 1: find the colour the frame still remembers
Paint that has spent forty years in sunlight is not the colour it left the factory in. UV fades pigments, old clear coats yellow, and grime and polish wear the surface. You want the paint that was hidden from all of that.
The places I check, in roughly this order:
- Inside the bottom bracket shell. Overspray from the factory often reaches inside, and it has never seen daylight.
- Under the headset cups and the fork crown race, once removed.
- Under clamped parts: the front derailleur clamp, the bottle cage bosses, a pump peg, the chainstay where a protector sat, the seat tube under the seatpost clamp area.
- Under the original decals. If a decal lifts or has to be removed, the paint beneath it was shaded by the decal and is usually much closer to the original.
- Inside the fork steerer and the top of the seat tube, with a torch.
Clean a small patch gently with a mild detergent and water, nothing abrasive. If the frame has an old clear coat that has yellowed, the colour under it will look warmer and greener than the actual pigment. A blue under yellowed lacquer can look teal, and a white can look cream. If you have a protected patch with no lacquer over it, trust that one.
A word of caution while you are poking about. Old paint can contain lead, and sanding or blasting it raises dust. Do the stripping outdoors or let the blaster do it, and wear a proper paint respirator for any sanding.
Step 2: compare in daylight, not on a screen
Take the frame, or the clean protected patch, outside on a bright overcast day, or into indirect light near a north-facing window. Hold a RAL Classic fan deck right against the paint and work through the family: oranges with the 2000s, blues with the 5000s, yellows with the 1000s.
Do not do this step on a phone. Screens handle bright oranges and yellows badly, and some of the shades below sit outside what a normal screen can show at all.
Narrow it to two or three strips, then look at them at arm's length as well as close up. A frame is seen from a few metres away most of the time, and a colour that looks spot on at 10 centimetres can look too dark from across the road.
Step 3: understand the special cases
Fluorescent shades
Some frames from the 1980s and 1990s wore fluorescent paints: hot pinks, lime greens and very bright oranges. If yours glows, or used to, the nearest RAL Classic references are the luminous colours. RAL 2005 luminous orange is the one people often reach for when describing a bright fluorescent orange frame. This site shows it on screen as roughly #FF2300, but that is an especially rough stand-in: fluorescent pigments turn invisible light into visible light, which no screen can imitate, so the real colour glows in a way the swatch never will.
A few things set these colours apart:
- They fade faster than ordinary pigments in sunlight. A fluorescent frame that has lived outdoors may have lost most of its glow, which is why so many look like a dull salmon now.
- They need a white base underneath to glow properly. Over a grey or dark primer they look muddy.
- Coaters and painters often put a UV-resistant clear coat over them to slow fading, though no clear stops it entirely.
- Not every coater keeps luminous powders, and wet paint systems in these shades can be limited. Ask before you set your heart on one.
Classic solid colours
For non-fluorescent frames, a handful of RAL Classic shades come up again and again because they sit near colours common on old bikes. RAL 1021 rape yellow (some sellers call it colza yellow, around #F6B600 on screen) is a strong, warm yellow that suits many old racing and touring frames. RAL 5019 capri blue (about #1A5784 on screen) is a deep, slightly greenish mid blue that sits close to a lot of faded factory blues once you look at protected paint. Neighbours such as RAL 1003 signal yellow, RAL 5005 signal blue or RAL 2004 pure orange are worth holding up too.
A worked case: a faded orange road frame
Here is a typical one. A steel road frame, lugged, with the outside of the tubes faded to a pale peachy orange and a yellowed clear coat on top. The owner remembers it as "fluorescent orange".
- Protected paint. Inside the bottom bracket shell there is a band of overspray that is a vivid, almost glowing red-orange. Under the remains of the down tube decal, the paint is the same: bright, warm, clearly fluorescent.
- Fan deck. Against the fan deck in daylight, the protected patch sits beyond the ordinary oranges. RAL 2004 pure orange and RAL 2008 bright red orange both look flat next to it. RAL 2005 luminous orange is the nearest strip, though the original looks slightly more red.
- Decision. Two honest options. Use RAL 2005 over a white base with a UV-resistant clear, and accept that it will be close in spirit rather than identical. Or have a paint shop mix a custom fluorescent to the protected patch, if they can, which takes more time and more money. The owner chose 2005, because the coater stocked it and the goal was "looks right from the kerb".
- Details. The decals are reproduction water-slide decals, so they go on over the colour and under the final clear coat, which protects them and keeps their edges from catching.
The same approach works for the dull blue or tired yellow: find the hidden paint, compare in daylight, choose the nearest strip, then decide whether near is near enough.
Step 4: decals and clear coats
Decals change how the colour reads. A frame with original-style decals in white or black will look correct to most eyes even if the colour is a shade off, because the decals set the period.
- Water-slide decals go on a smooth, cured base and need a clear coat over them. Check with the decal maker which clears they suit.
- Vinyl decals go on top of the finished coat and need no clear, but they sit proud and look less period-correct on some frames.
- If the frame is powder coated, ask the coater whether they can apply a clear powder over decals. Not every decal survives a powder oven, so check with both the coater and the decal maker before planning it.
A clear coat also adds its own gloss level, which affects how deep the colour looks. If you want the period look of a glossy factory finish, ask for a gloss clear; the gloss levels guide in powder coating gloss levels, from matt to high gloss covers how much difference that makes.
Step 5: powder or wet paint on thin tubing
Both work on old steel frames, and good restorers use both. The general trade-offs:
| Powder coat | Wet paint | |
|---|---|---|
| Film | Thicker, tough and chip-resistant | Thinner, shows fine lug detail and crisp edges |
| Detail | Can soften sharp lug edges and fill fine engraving | Keeps filed lug points and engraving sharper |
| Colour choice | Limited to the powders a coater stocks, including many RAL shades | Can be custom mixed, including near-original shades |
| Preparation | Usually blasted; ask for gentle media on thin-walled tubing | Chemical stripping or careful blasting |
| Masking | Threads, bearing faces and the inside of the seat tube must be masked or chased after | Same, plus overspray inside tubes |
| Safety | Done by the coater in their booth and oven | Two-pack (2K) paints need proper respiratory protection and are not for an ordinary home garage |
If the frame has fine lugwork you are proud of, wet paint usually shows it better. If it is a daily rider that will be locked to railings, powder is harder wearing. Either way, ask the coater or painter about blasting media and pressure on thin-walled tubes, and make sure they mask the bottom bracket threads, headset faces and the seat tube bore.
The last check before you hand it over: write the RAL number, the gloss level and the texture on a label, tape it to the frame, and give the coater the protected patch or a photo of it beside the fan deck strip. A shade you spent an afternoon finding should not get lost in a phone call.
Saoirse Malone
Saoirse restores old bicycles and the occasional small motorbike in a shed outside Cork. She writes the spray and restoration guides, from frame colours to rattle-can technique in a cold garage.
More from the same drawer
Luminous RAL colours and why screens cannot show them
The five luminous RAL Classic shades glow because their pigments turn invisible light into colour. Here is why no screen can show them and how to paint them.
Read the note